Take a sneak peek at how to quickly create an action scene with lighting effects using a limited brush set
Whether it is within thirty minutes or two hours, time is short when speed painting so you have to focus on how to tell an exciting story in little time. Here I will show you how to create a speed painting using a “Medic Mech” as a theme. You will need to prepare some references from your favorite pictures or artists, anything to feed your mind while painting. A speed painting is not a finished concept; you are painting something from what you are familiar with and are here to make another nice piece of art with its story.
We will focus on very few key elements. Above all, keep your topic in mind and do all that you can to express it in your artwork while keeping it as simple as possible. Keep your silhouettes, colors, contrasts, and composition simple too. Do not use lots of characters or any crazy perspectives with hundreds of wires or circles in it. Ideally you should paint a maximum of one to two characters and any other character should be a simple rough shape. Most of the time evoking a simple human shape, barely defined, should suffice.
You will see that you have to sacrifice surface and texture painting for composition and a clean contrast. Depth is important to get a nice vibe and it can only work if you keep the different foreground, middle ground and background layers separated. To summarize, a speed painting is quite similar to any painting, the main difference will be in what you spend your time working on and choosing how to make some sacrifices. For this entire process, we will use basics brushes (the simple Photoshop Round brush in either 100% or 0% Hardness will do most the strokes). Smoke, dust and particle brushes are also useful here, and that’s it!
Step 01: Creating an abstract background
First let’s create a story for the medic mech. Quickly brainstorm a situation that helps you to understand what is going on and what the story is. For instance, the medic mech could be healing an injured soldier on a battlefield. You would need to paint the mech, an injured guy, and the battlefield (let’s keep this simple, the clock’s ticking) and of course the action itself.
Start by creating, in a landscape canvas using a cloudy brush, an abstract background in a color of your choice depending on the ambiance you wish to show. Here I create a cloudy, abstract background which is darker in the corners so that the focal area will stay in the center.

Start with a cloudy background with a bad weather atmosphere. Paint the corners darker than the center
Step 02: Surface placement
Go back to a simple round brush with the Hardness setting at 100% to stay clear. Place in the bottom third of the composition, the foreground surface where the action of the scene is taking place. This third is much easier to control in the time given. Then paint the background surface too in a lighter shade. This gives you the first level of depth in your scenery. One surface where the main focus (the medic mech and the injured soldier) will be and a second surface for the battlefield action.
Sculpt the shape of the foreground so that you have an opening to see what’s going on in the background. Add a little area on the foreground surface where your main action is taking place.
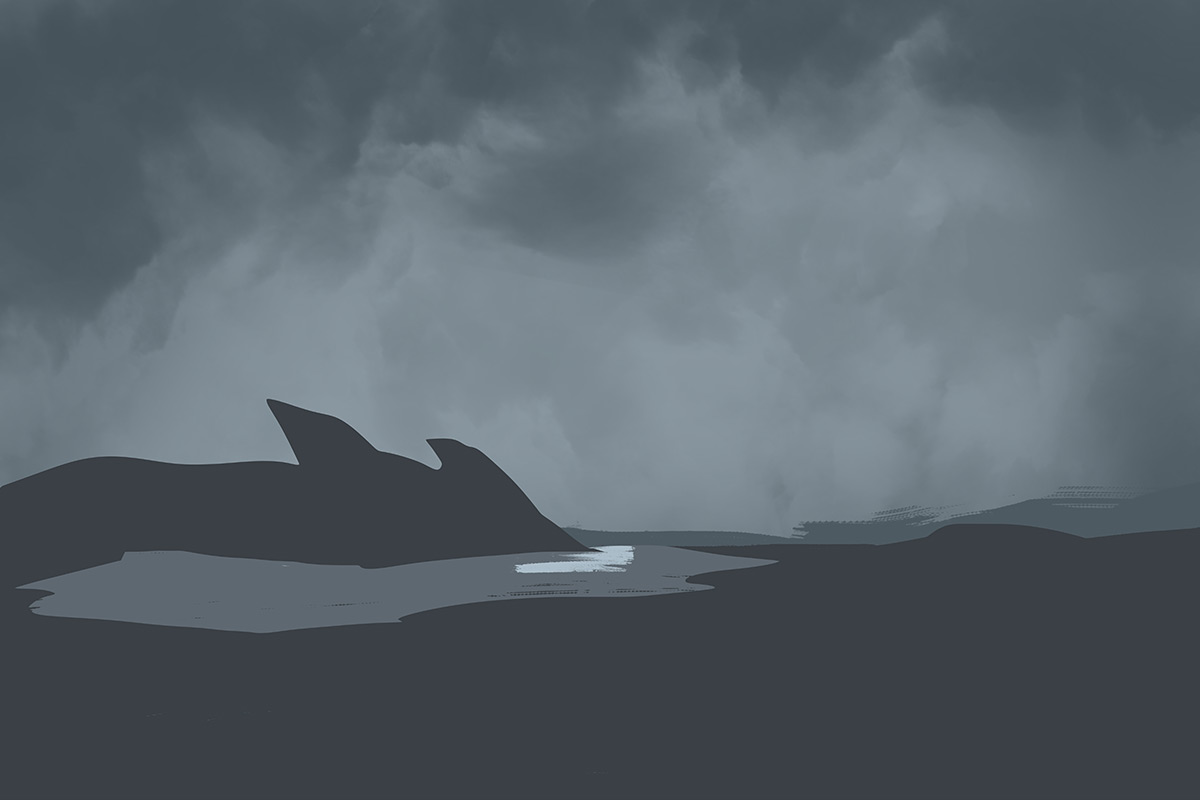
Add a dark foreground with an opening and a lighter background layer
“The positioning of your characters is extremely important and should give a rough idea of what is going on in the scene”
Step 03: Signaling the main subject
Let’s not lose any more time, add your main protagonists in the foreground. The positioning of your characters is extremely important and should give a rough idea of what is going on in the scene. Since you do not have the time for details keep the silhouettes clear and simple. More than two characters will rapidly become a hard task to manage when you have to be fast (unless you are painting a roughly shaped crowd).
For now, keep your characters in different colors and on separate layers. Refine your silhouettes until you are satisfied with the shape but remember that spontaneity is the key. Also remember that many less important elements like the legs of the medic mech don’t have to be finished at all, just drafted.
Here, focus on the healing act centered on the hands of the mech and the torso and head of the injured soldier. Create another separate layer for the mech’s arm.
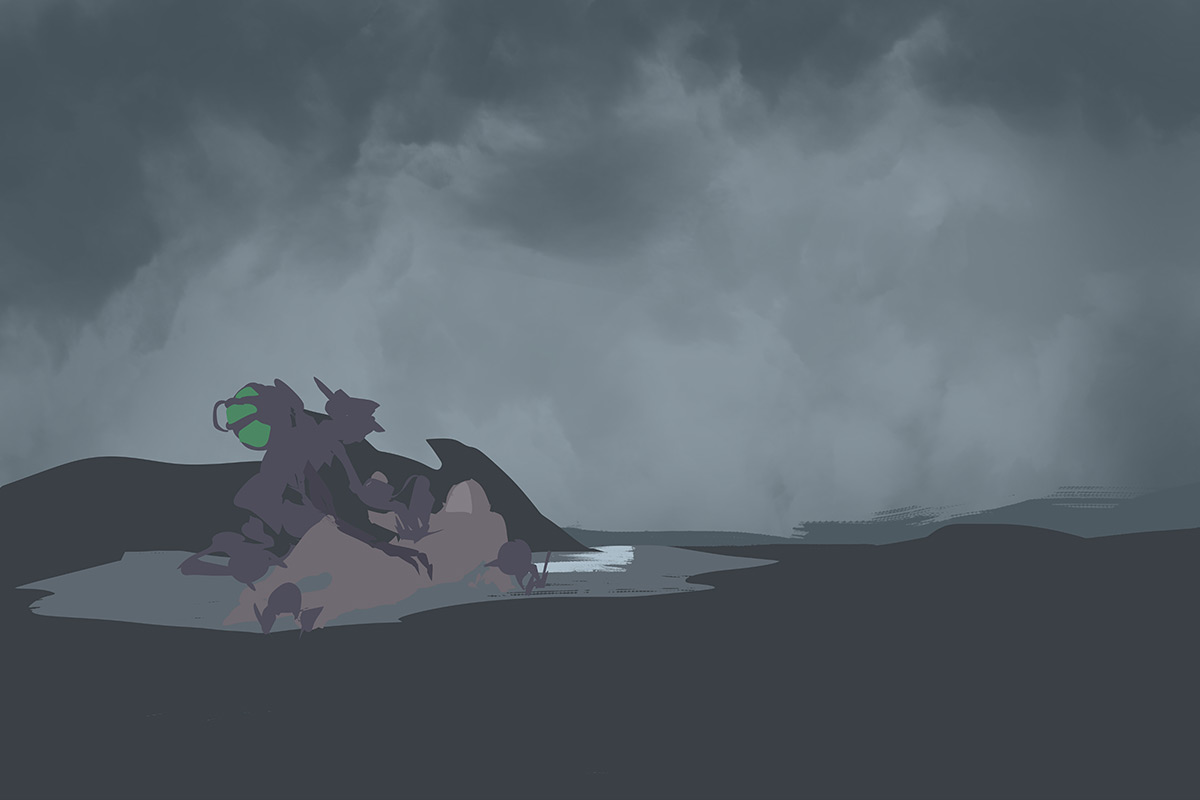
Add the main characters in three different layers. One for the injured soldier, one for the mech, and one for the mech’s arm
Step 04: Background story
There is too much space in the picture. Use the Crop tool to erase the empty space around your characters. Now that the focus is directed more on the characters, add a middle ground mountain to create more depth in your scenery. This also helps the composition by filling the space on the left and therefore pushing the eye of the reader to the right, into the main action point of your characters.
Start also to add some background action. This helps give an ambiance to the story in your painting and therefore give more depth of story to the injured soldier. A simple spider tank shooting and causing an explosion clearly shows that the scene is on a battlefield. As before, focus on the silhouettes and keep everything in the background grayish in color because this is not the main focus.
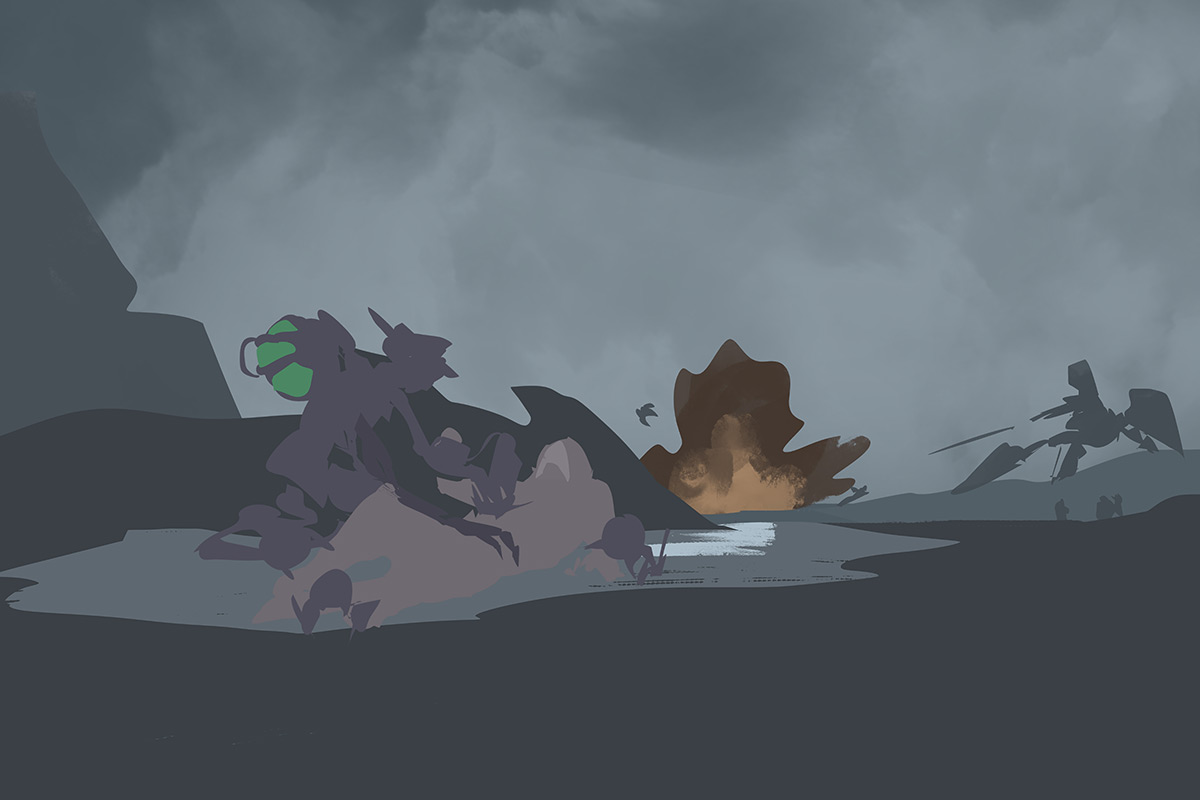
Crop the painting to get closer to the characters, adding some background story and a middle ground
Step 05: Material composition
It is time to start some material texture painting. Always remember that your foreground, where the main action is happening, is your priority. So let’s add grass and some puddles to it by using “bad weather” colors with a flat brush (you could simply flatten your round brush in the brush parameters window).
Use a grass brush for the edges. You can make this brush by drawing a couple of sharp shapes on a separate PSD and saving it as a brush. You can then scatter it in the brush presets. The rock on the left of image 05 is made using a rocky texture with a solid center and noisy edges. Do not contrast these textures too much otherwise they will catch the attention more than the characters.
Finally for this step, paint the first details of your characters. Indicate the eye of the mech to show where he is looking then detail the healing gas tank on his back, a bit of his hands and also the soldier’s uniform. All of these will help the viewer identifying what is happening in the scene.
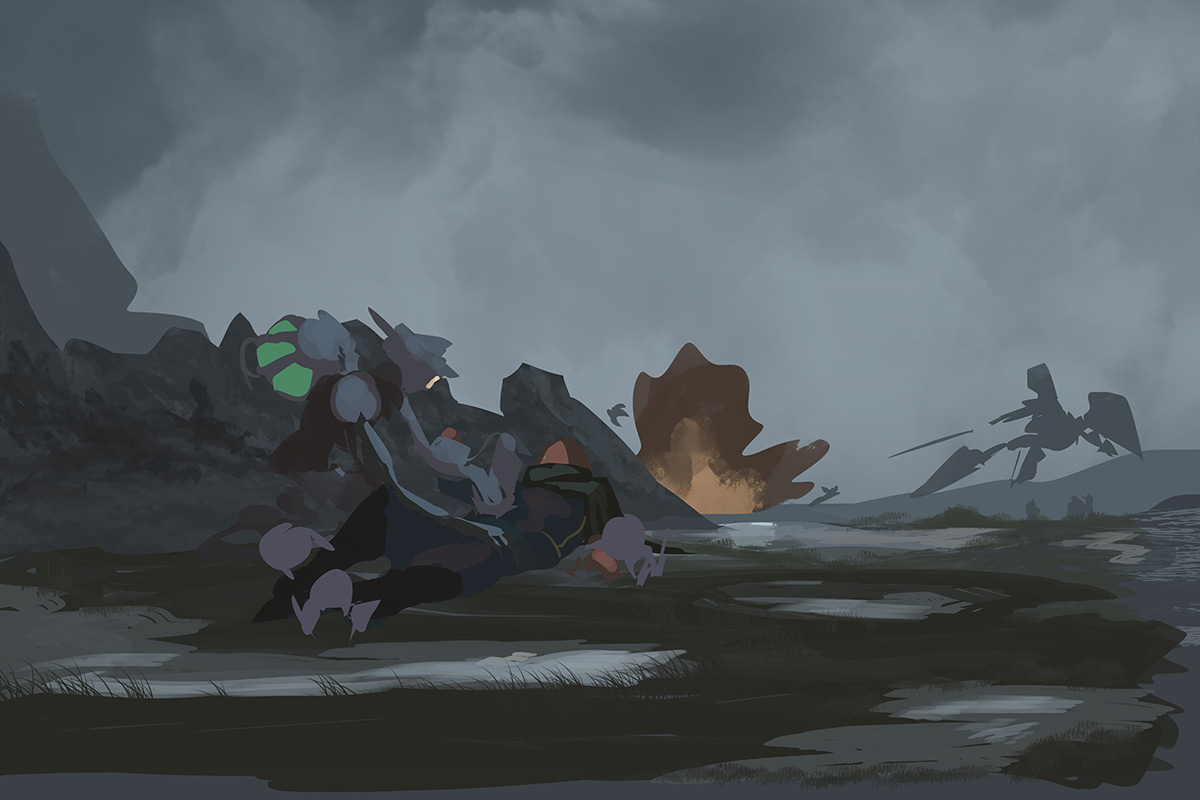
Paint material textures in the foreground and begin detailing the characters attributes
find out how Thibault completed this sci-fi speed painting, get issue 130 here!
